
Part 2 — Ergonomics: Put the Rider Where They Should Be
In Part 1 we talked about sag.
Not particularly glamorous. No carbon fibre. Nothing anodised. Very little opportunity to stand in the garage admiring your latest purchase.
But get it wrong and the motorcycle isn't sitting where its designers intended it to sit.
So, we fixed that.
Now it's your turn.
Because motorcycles have a slightly inconvenient design problem: manufacturers have absolutely no idea who's going to buy them. You might be 160 cm. I might be 186 cm. Somebody else might have legs like a giraffe and the torso of a garden gnome. One rider spends 95% of the day sitting down. Another stands whenever the surface becomes remotely interesting. Yet we can all buy exactly the same motorcycle. And it arrives with exactly the same seat, footpegs, handlebars and controls. Something has to give and, if we don't adjust the bike, it's going to be your body doing the giving!
The objective of motorcycle ergonomics isn't simply to make the bike comfortable.
It's to put you in the right place to control it. That's an important distinction.
A big soft seat might be wonderfully comfortable while simultaneously putting you in completely the wrong position. Likewise, a motorcycle can initially feel slightly strange after an ergonomic change and turn out to be considerably easier to ride once you've spent a day on it.
So, Part 2 of our little motorcycle setup journey is very simple:
Stage 1: Put the motorcycle where it should be.
Stage 2: Put the rider where they should be.
And just like sag, we're going to try to do it without disappearing too far down the rabbit hole.
The Rider Triangle
You'll often hear people talking about the rider triangle. It sounds considerably more scientific than it really is. There are essentially three points connecting you to a bike:
Your backside.
Your feet.
Your hands.
Or, in motorcycle terms:
Seat. Pegs. Bars.
Change the position of any one of those and you've changed the relationship between all three. Raise the seat and you've opened your knee angle. Lower the pegs and you've also opened your knee angle. Raise the handlebars and you've changed your upper-body position, particularly when standing. We'll get to why this isn't always a great thing later. Move the bars forwards and you've changed it again.
And this is the first reason I'd be very wary of copying somebody else's modifications.
You'll see it all the time.
“I'm 6'1". What risers should I buy?”
Followed by twelve people confidently telling him to buy twelve different things. Height alone tells us remarkably little.
Two people who are both 6'1" can have completely different leg, torso and arm lengths. Then throw riding style, boots, suspension setup and personal preference into the equation and the idea that there is one correct set of risers for every tall rider becomes rather silly.
So we're not going to start by buying anything. We're going to start by looking at the rider.
Start With the Seat
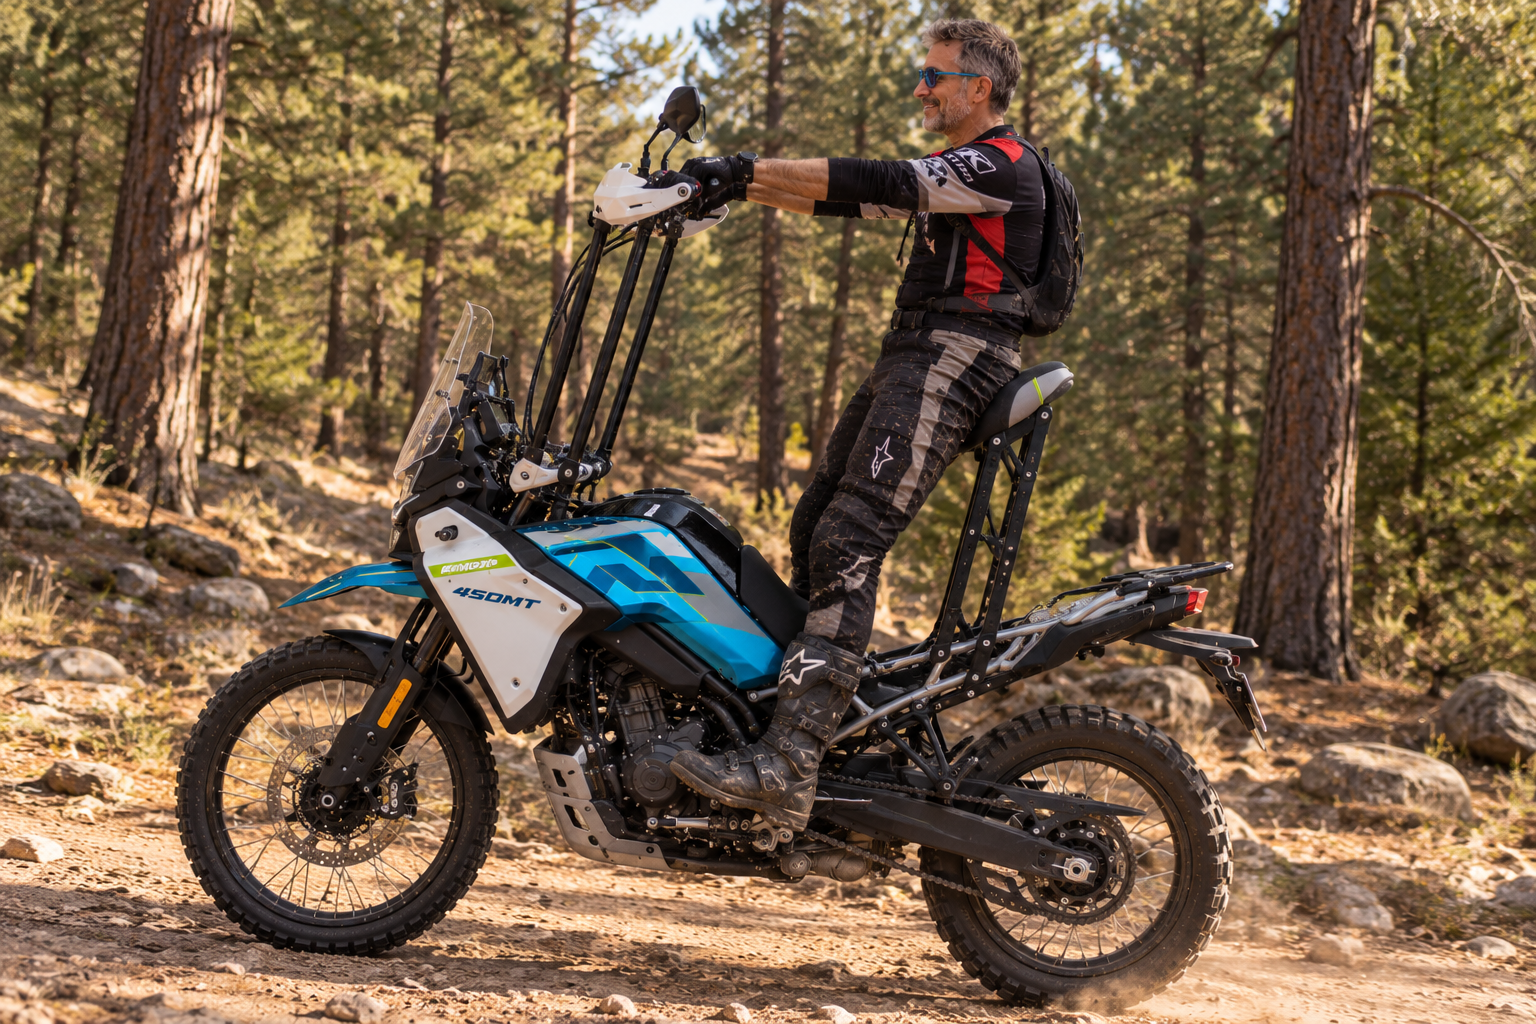
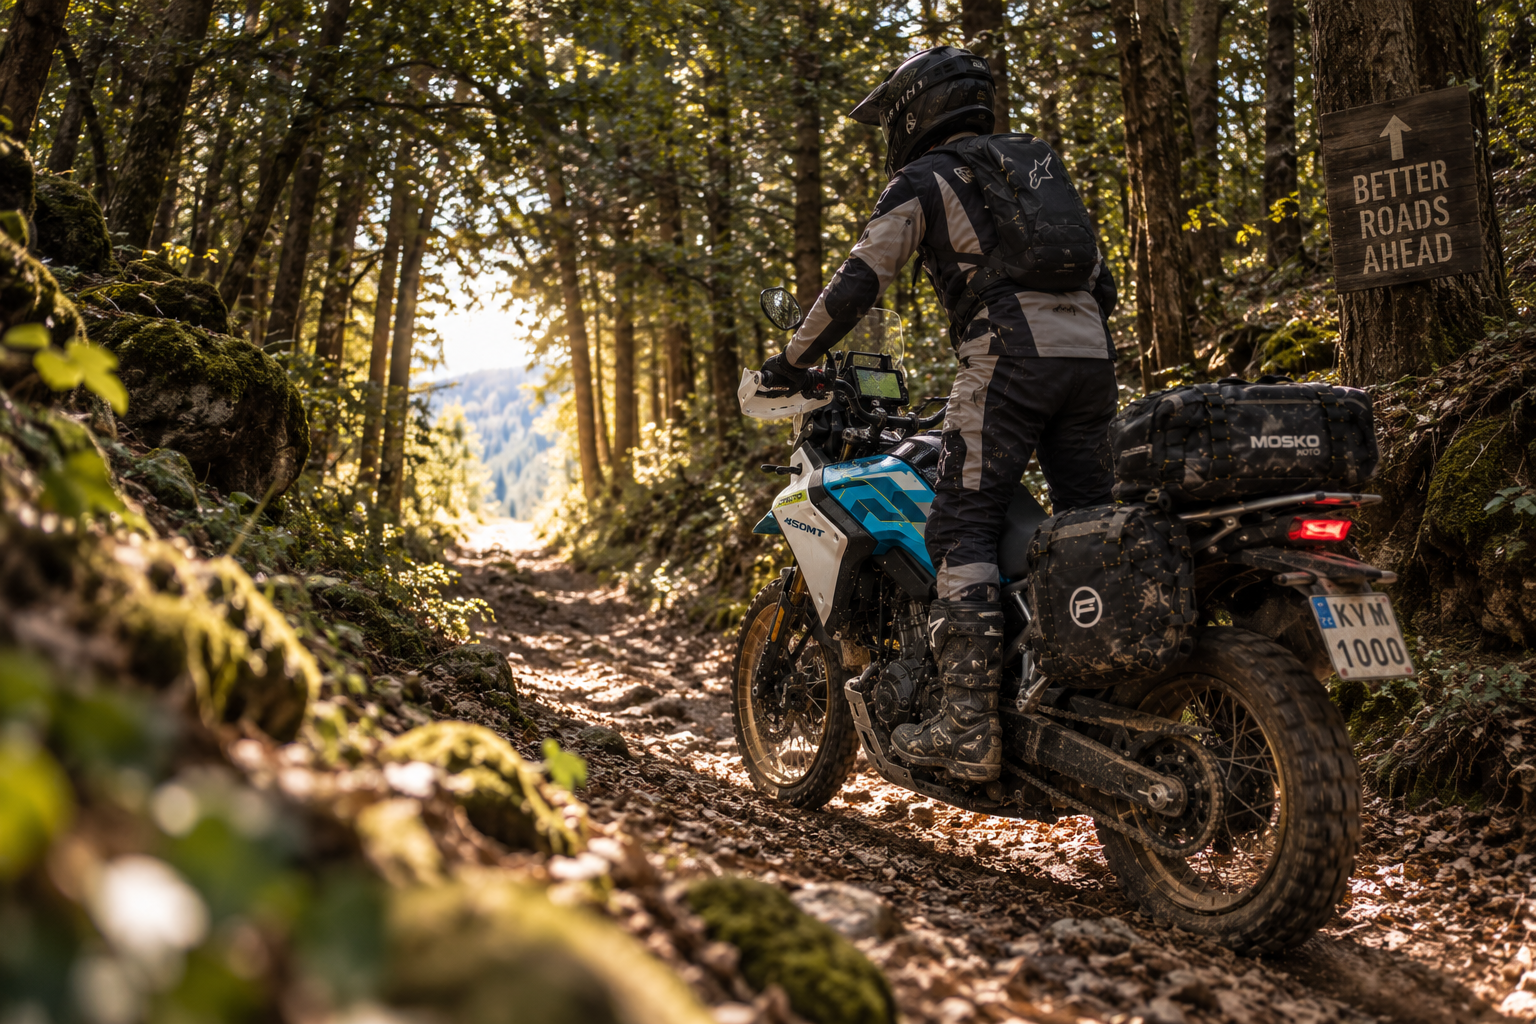
On our CFMOTO 450MTs, we’ve also purchased the Rally seat. This raises it by around 50 mm.
That sounds enormous.
And if you're 5'4" (162 cm), it probably is. Don't worry, I still have the lower one.
But I'm 6'1" (186 cm), and for me the standard seat-to-peg relationship was simply too cramped. With this taller seat I can still flat-foot both sides, yet relieve some of the bend in my knees. This is where seat height gets misunderstood. People tend to think about seat height almost entirely in terms of:
Can I get my feet on the ground?
Obviously that matters. But once you're actually riding, the more important relationship is often:
Where are my knees relative to my hips and feet?
A low seat combined with relatively high footpegs closes your knee angle. Even a high seat coupled to high footpegs can be horrible. If anyone has ridden an AJP PR7, you'll know what I mean. I feel like Lester Piggott riding the Derby whenever I get on one.
For twenty minutes that might be completely irrelevant. After six hours it might feel as though somebody has replaced your knees with rusty door hinges. And off road there's another consideration.
Every time you transition from sitting to standing, your legs are doing the work.
If you're folded tightly into the motorcycle, you've got further to lift yourself before you're standing naturally over the bike. Raise the seat and that transition becomes smaller. But — and this matters — higher isn't automatically better.
Raise the seat too far and you may compromise your ability to dab a foot, manoeuvre the motorcycle at walking pace or comfortably reach the ground on awkward cambers. We're not trying to build the tallest motorcycle possible. We're trying to make the motorcycle fit its rider.
PEGS + BARS
now Look at the Footpegs
Our 450MT pegs are around 20 mm lower than standard. I bought rather lovely Rade Garage ones that require a mortgage to purchase.
Again, this works with the taller seat. For me.
Both changes increase the distance between my backside and my feet, opening the knee angle and giving my legs more room. But footpegs introduce another compromise. Lower them too far and you're reducing ground clearance. Move them backwards or forwards and you're changing where your body naturally sits and stands relative to the motorcycle.
There's also peg width to consider. A decent wide platform spreads the load across your boot when you're standing. That's particularly noticeable after hours off road. Tiny pegs concentrate all your weight into a narrow strip under your foot. And remember, you're doing a lot of steering on the bike by putting pressure on those pegs. And before somebody emails me:
Yes, enormous rally footpegs can also become enormous ankle-catching devices when you're paddling through something horrible. I only wear MX boots, so it's irrelevant, OK!
Everything is a compromise. Welcome to motorcycles.
What matters is that when you're sitting normally, your knees aren't unnecessarily cramped, and when you stand, your feet provide a stable platform from which you can control the motorcycle.
Which brings us to the modification ADV riders appear genetically programmed to buy.
Handlebar Risers
I planned to use 20 mm of rise on the 450MT.
When I got the bike on the trail, it became apparent that this was waaaaaay too high. I was pushed backwards and it was nasty trying to get weight over the forks. So now they're back in the drawer waiting for Robert Wadlow to place a booking.
Conversely, we also run Rieju 307 Rally Rs here too. For me it was essential to fit 20 mm risers immediately as the rider triangle meant I was right over the handlebars and I felt unbalanced. That single change totally transformed my ability to ride it standing up. So now it automatically goes on all of them.
So what I'm trying to articulate is it does not necessarily mean you need 20 mm risers if you're tall. It depends on the relationship between you and how the bike is designed.
Nor does being taller automatically mean you need taller handlebars.
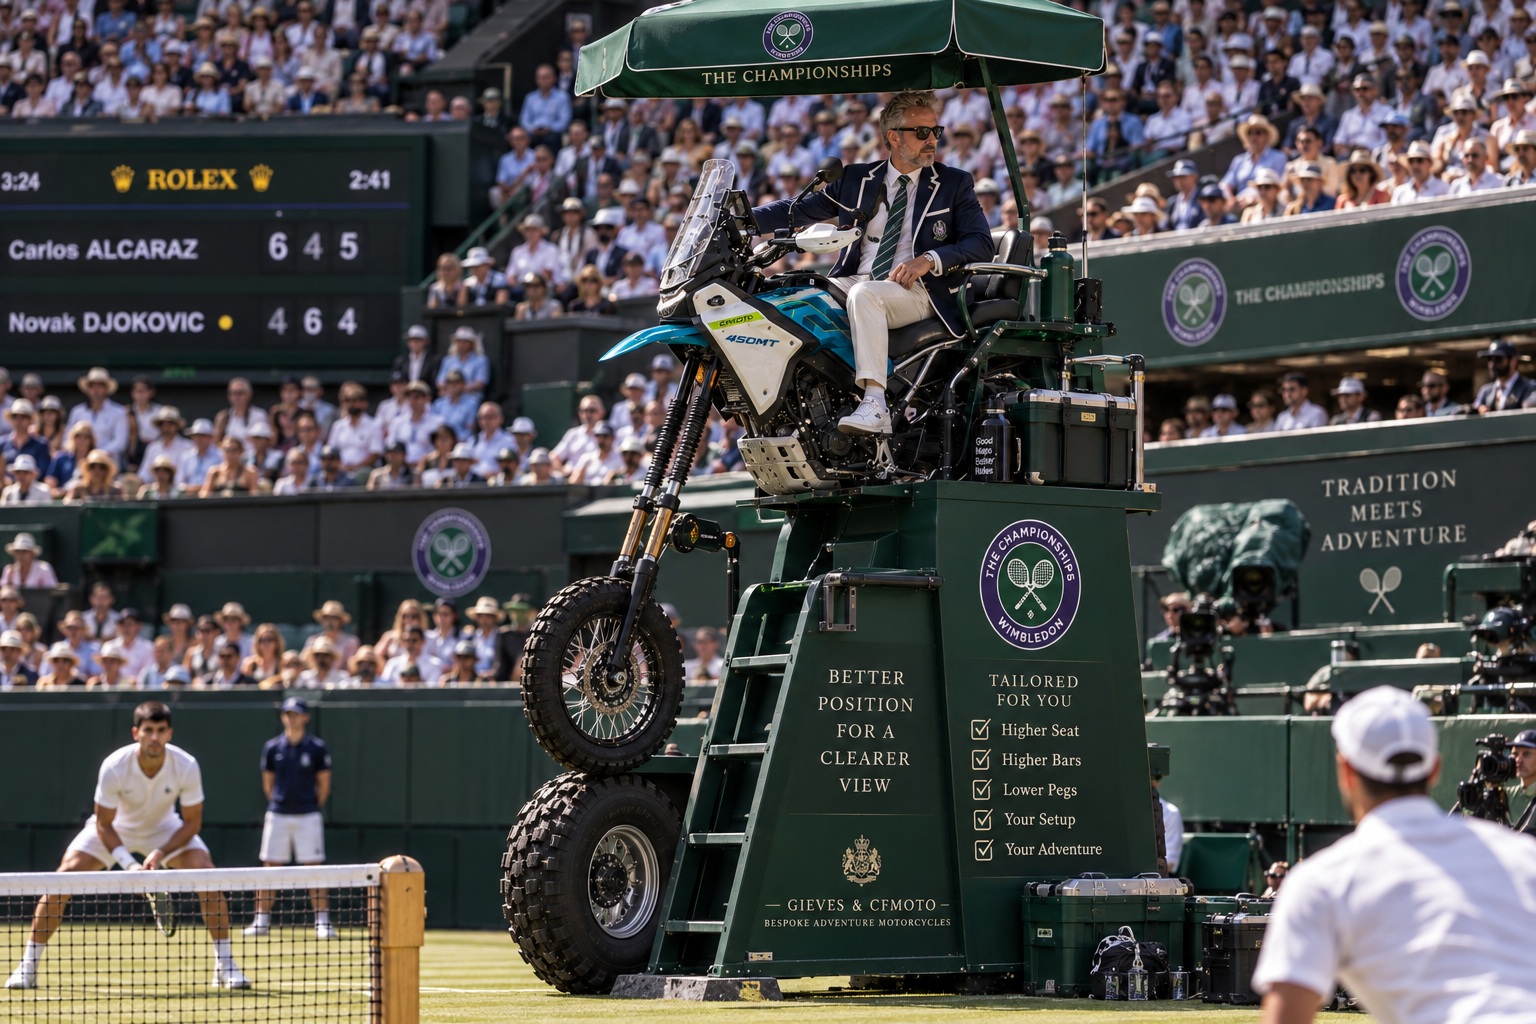
There is presumably an upper limit. If you've fitted enough seat foam and handlebar risers that your natural riding position resembles a tennis umpire's chair, you've probably passed it.
CONTROL through the BARS
The test for this is pretty simple really.
Stand on the motorcycle in your normal riding position.
Not bolt upright like you're waiting for a bus. Not hunched over pretending you're about to enter the Dakar. Just stand naturally, knees slightly bent, balanced through the pegs, with your upper body relaxed. Now put your hands on the bars.
What happened?
If you had to bend significantly forward just to reach them, the bars may be too low or too far forward. If the bars force your elbows up and your shoulders back, they may be too high or too close. You'll also notice that in this case your hips have come backward, putting more weight over the rear wheel. Not exactly an ideal balanced position.
Your hands should arrive naturally at the controls without the handlebars becoming something you're hanging from.
That last point is important.
The handlebars are controls, not scaffolding.
Off road, your weight should primarily be supported through your legs and the footpegs. Your hands need to remain light enough to allow the front of the motorcycle to move. If you're permanently hanging backwards from a huge pair of risers, you've solved one problem and created another.
What About Bar Width?
Height and reach aren't the only considerations. There's also width.
Wider bars give you more leverage over the front of the motorcycle, which can be useful off road. But make them unnecessarily wide and you can end up spreading your arms too far, tiring your shoulders and making life rather interesting between closely spaced trees. Go too narrow and you lose some of that leverage.
Once again, there isn't a magic number. Your shoulder width, arm length, riding position and the sort of terrain you ride all matter. It's almost as though motorcycles aren't one-size-fits-all.
There's another free adjustment people often overlook before buying risers.
Rotate the handlebars.
A few degrees of rotation can noticeably change both bar height and reach.
Yes, I know the factory puts that damn locating pin inside the control units so now all the buttons end up in the wrong place.
Top tip: loosen the controls and see what adjustment the design allows. On suitable switchgear, removing the locating pin and adding a little electrical tape around the bar can let you position the controls where you actually want them. Voge DS800X Rally riders; I'm thinking you! That main beam you keep knocking on accidentally. That right there!
Obviously, don't attack anything containing wiring with a pair of side cutters unless you understand what you're attacking.
Likewise, many bar clamps can be mounted in more than one position. So before buying a collection of beautifully machined aluminium, see what adjustment the motorcycle already gives you.
Free modifications are my favourite kind.
Now Move the Levers
This is perhaps the easiest ergonomic improvement on a motorcycle and one of the most frequently ignored.
Sit on the bike and look at your clutch and front brake levers. They were probably positioned at the factory, moved during assembly, adjusted by the dealer or simply left wherever somebody happened to tighten the bolts. That doesn't mean they're in the right place for you.
Now stand up.
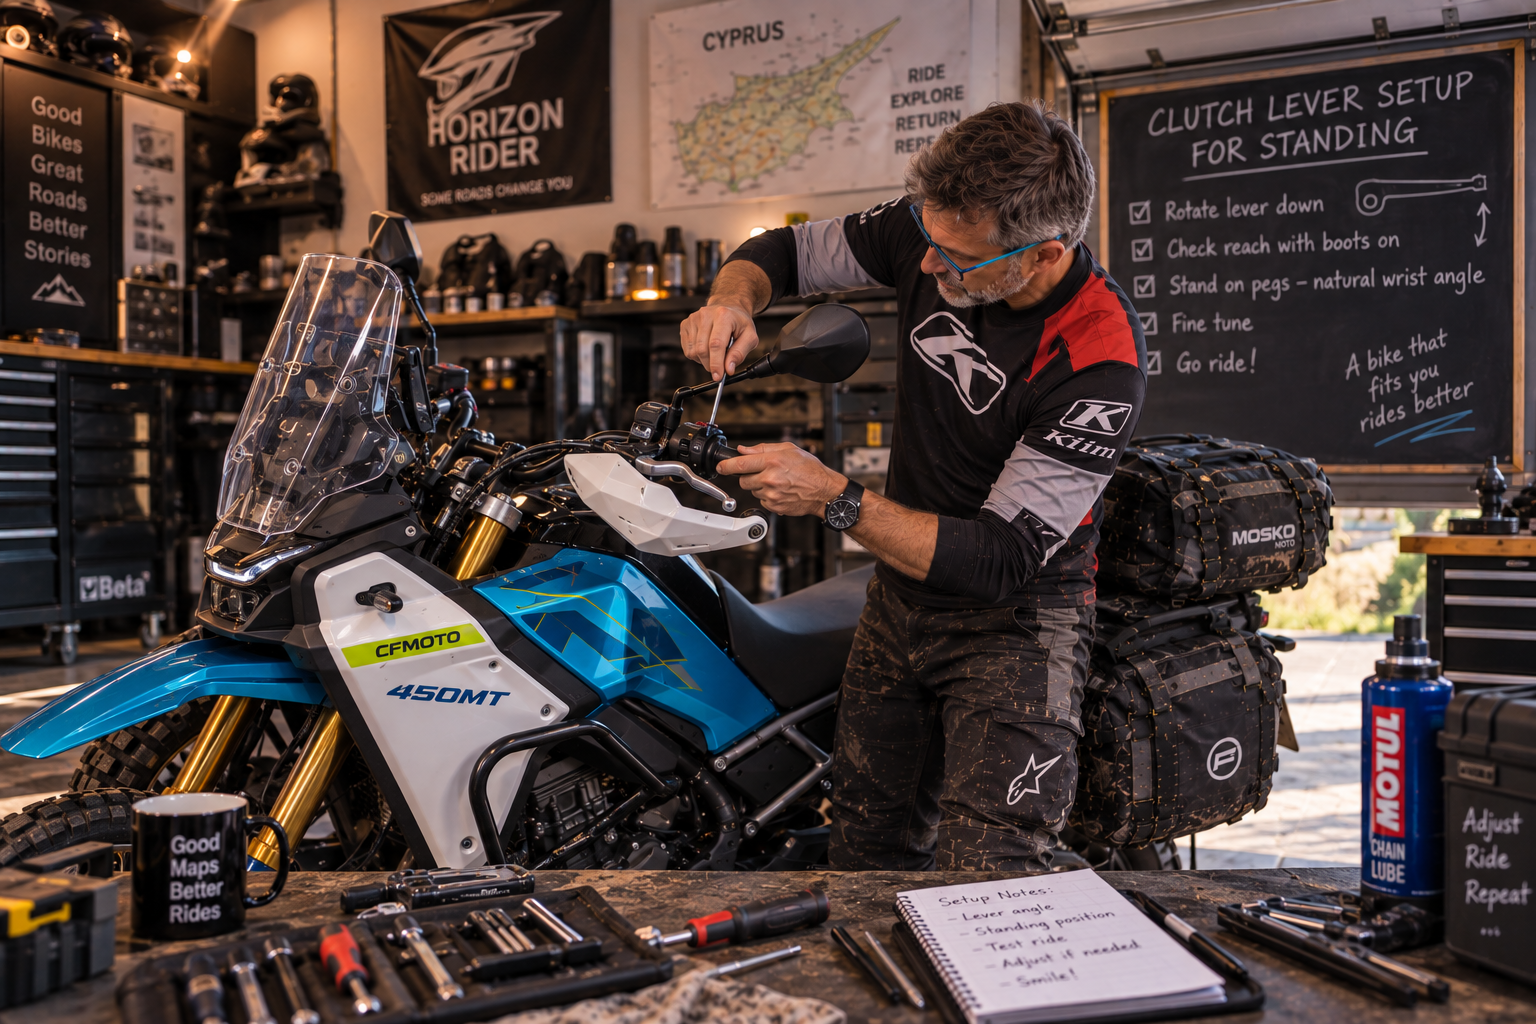
With your fingers resting naturally on the levers, look at your wrist. Ideally your hand, wrist and forearm should form a reasonably natural line. If you need to cock your wrists upwards to cover the levers, they're probably too high. If you're reaching sharply downwards, they're probably too low. For an adventure-bike rider who spends time both sitting and standing, you're looking for a sensible compromise between the two positions.
Or alternatively, do what I do. I don't tighten them too much. Just enough to hold them still. Then you can adjust them as you arrive at the trailhead and back again to ride home. This also helps when you crash.
And don't just adjust the angle.
If your levers have reach adjustment, use it. The fact that a lever has six positions does not mean position three was ordained by the motorcycle gods. Set it so you can comfortably operate the lever with the fingers you actually use while maintaining control of the grip.
I'm a two-finger chap, but some people prefer the full gorilla. Up to you, I say.
And while you're there, look at your clutch adjustment. Adjust the clutch cable so the bite point starts away from the fingers that remain wrapped around the handlebar. Riding technical off-road trails and modulating the clutch all day will soon give you bruises if you don't.
Just don't go mad here or you'll end up not able to fully engage drive — cue burnt-clutch smell and a long walk home.
FEET + SITTING/STANDING
Don't Forget Your Feet
Hand controls get all the attention. Foot controls often seem to be adjusted according to a different system:
Wherever the factory put them.
Your gear lever and rear brake pedal need to work with your boots. And I mean your actual riding boots.
Not trainers.
Not the tartan slippers you happen to be wearing while tinkering in the garage.
Put your riding boots on.
Adventure and motocross boots can be significantly bulkier and stiffer than ordinary footwear. A gear lever that felt perfectly positioned in a pair of trainers may become almost inaccessible once you've put proper boots on.
The same applies to the rear brake.
The vast majority of bikes allow adjustment of both, so give it a go. It's usually just a question of playing hunt-the-mislaid-10-mm-spanner, because that's what it normally is.
You should be able to find and operate both controls without performing ankle gymnastics or having to lift your entire foot off the peg every time.
Again, test them sitting.
Then test them standing.
I, for instance, have to move the gear lever upward on virtually any bike I ride or I simply can't change gear properly while standing.
We're building one motorcycle that needs to work in both positions.
Sitting Versus Standing
This is where adventure-bike ergonomics becomes slightly more complicated than setting up a road bike.
You effectively have two riding positions.
Sitting.
And standing.
Optimising entirely for one can make the other worse. Set the bars beautifully for standing and you may discover they're annoyingly high when seated. Set the gear lever perfectly for relaxed road riding and you may struggle to get a motocross boot underneath it when standing. That's why there isn't a magic measurement I can give you. We're looking for the best compromise for how you actually use the motorcycle.
If your idea of adventure riding is 90% tarmac with the occasional gravel road, your compromise may quite reasonably favour sitting. If you're spending half the day standing on technical trails, standing ergonomics becomes much more important.
Neither setup is wrong.
They're solving different problems.
PROCESS + CONCLUSION
Change One Thing at a Time
There is a wonderful temptation when modifying a motorcycle to order everything simultaneously.
Seat.
Pegs.
Bars.
Risers.
Levers.
Then bolt the whole lot on one Saturday morning. Trust me, I own that T-shirt.
Congratulations. You've now changed six variables and have absolutely no idea which one made the motorcycle better. Or worse.
Where possible, change one thing. Ride the bike. Then change the next thing.
Sometimes one modification removes the need for another. A taller seat may solve enough of the cramped feeling that you don't need dramatically lower pegs. Rotating the bars may give you the reach you wanted without risers. Adjusting the lever angle may cure something you thought was a handlebar problem.
Motorcycle setup is much easier when you treat it as a process rather than a shopping list.
My 450MT Isn't Your 450MT
Our own 450MTs currently use a combination of approximately:
+50 mm seat height
−20 mm footpeg height
+0 mm handlebar rise
For me, that combination works extremely well.
It opens the seated riding position, makes the transition to standing easier and puts the controls where I want them when I'm on the pegs. But copying those three numbers would completely miss the point of this article.
They aren't recommendations.
They're the result.
The recommendation is the process that produced them.
Look at your body position. Identify what feels wrong. Understand which relationship you're trying to change. Make the smallest sensible adjustment. Then ride the motorcycle.
Because ultimately your garage can only tell you so much.
Something that feels perfect while stationary may feel completely different after four hours of corrugations, rocks, motorway or repeated sitting and standing. Your body is remarkably good at telling you when you've got this wrong.
Listen to it.
Don't Modify Problems You Don't Have
This might be the most useful advice in the entire article.
The adventure-bike aftermarket is extremely good at convincing us that every motorcycle contains dozens of urgent problems requiring CNC-machined solutions.
It doesn't.
If your knees are comfortable, leave them alone. If you naturally reach the bars while standing, you don't need risers because somebody on YouTube fitted them. If your feet comfortably operate the controls in your riding boots, don't start moving everything around because a forum told you the factory setup is rubbish. Modification should solve a problem.
Preferably a problem you've actually experienced. Not one you've been persuaded you might have.
Now the Bike Fits
So that's Part 2.
We started with the motorcycle itself in Part 1 and set its sag so it sits where it should.
Now we've moved the three points that connect you to it:
Seat.
Pegs.
Bars.
Then we've moved the controls, so they come naturally to your hands and feet. The result shouldn't necessarily be a motorcycle that looks dramatically different. It should be one that somehow feels less noticeable underneath you. You stop adapting yourself to the motorcycle. The motorcycle starts working around you. And that's exactly what we're trying to achieve. Because now we've put the motorcycle where it should be. We've put the rider where they should be.
Which leaves one rather important component still sitting wherever the factory decided to put it.
The engine.
Not literally, thankfully.
In Part 3 we're going to talk about gearing — and how a surprisingly simple change to sprocket sizes can completely alter the character of a motorcycle.
Because sometimes you don't need more horsepower.
You just need to put the engine where you need it.
