
Part 4 — Those Little Clicky Things
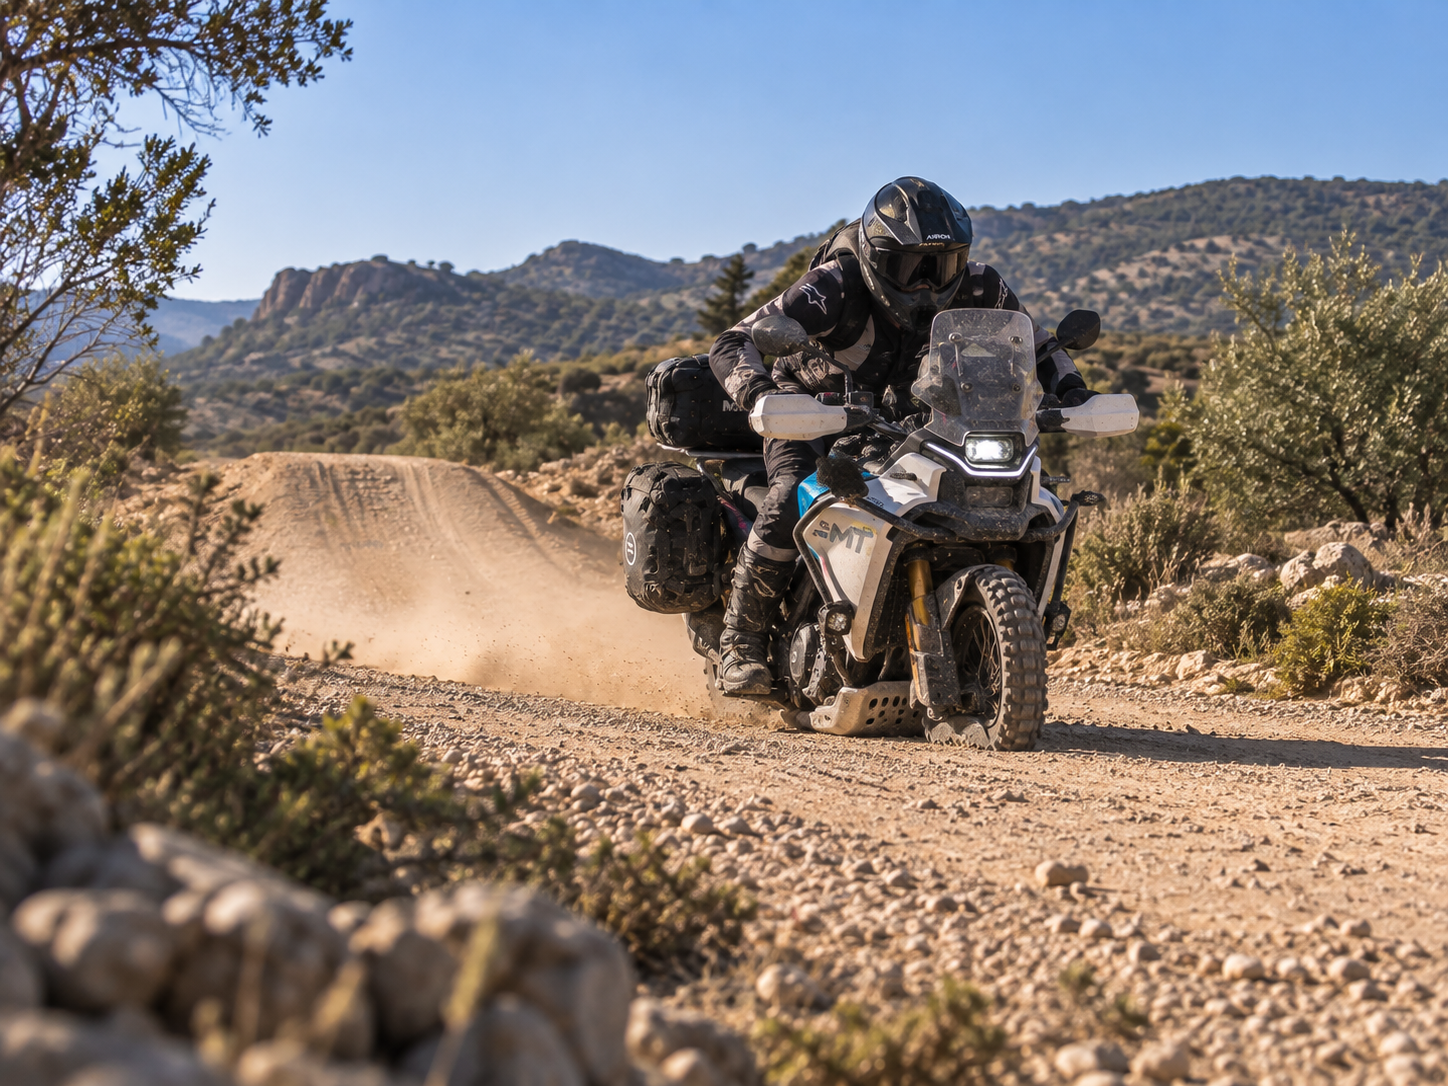
Suspension Damping: Teach the Bike How to Behave
In Part 1 we set the sag. That put the motorcycle where it should be. Then we fitted the rider to it. Then we changed the gearing to put the engine where we needed it.
So surely we're finished with suspension?
Not quite.
Sag establishes where the motorcycle sits in its suspension travel. It does not determine how quickly the suspension moves through that travel.
Hit a rock.
Land from a bump.
Brake hard.
Accelerate out of a hole.
Ride across ten bumps in quick succession.
The springs are going to compress and extend.
The question is:
How quickly do we want them to do it and why?
That's where damping comes in.
And that's what those mysterious little screws marked things like COMP, TEN, REB, H, S, plus and minus signs and occasionally absolutely bugger all are actually doing.
We're going to simplify this enormously. Because for most riders, you really only need to understand two things:
Compression damping — controls how quickly the suspension compresses.
Rebound damping — controls how quickly it extends again.
And before we adjust either properly, we're going to do something slightly silly.
We're going to make them wrong.
VERY VERY WRONG INDEED!
Deliberately.
First, Let's Feel What the Clickers Actually Do
Before reaching for somebody else's suspension settings from Facebook, I want you to understand what your own motorcycle is telling you.
So find a short, familiar piece of terrain.
Nothing dangerous. No seriously, I'm going to make riding the bike Hell on Earth for you in a second!
Ideally something with a mixture of small bumps, perhaps a larger compression and somewhere you can brake reasonably firmly.
Then get your notebook out.
Before touching anything, write down your current settings for front forks and rear shock.
And remember: suspension settings are normally recorded as clicks out from fully closed.
Count every click as you gently turn the adjuster clockwise to fully closed. That number is your current setting in “clicks out”.
Gently.
We're seating a small adjuster, not torquing down a cylinder head.
Write that number down. Do exactly the same for the other fork and for the compression on the shock.
And trust me, you're in for a shock in a minute too!
Now you can always get home again once I've broken your will to live.
Because we're about to make the motorcycle considerably worse.
What Happens With Compression Damping Almost Fully Off?
My MX teacher made me do this about eleventy million years ago when I was a teenager.
I actually thought he was trying to kill me.
What I realise with hindsight is that he was teaching me a very serious lesson, whilst amusing himself with a light sprinkling of schadenfreude aimed in my direction.
Wind the compression damping all of the way out — to the soft/open end of its adjustment. Anti-clockwise to the stops.
Now ride your test section.
Go really steady please!
The suspension can compress much more freely.
Initially, you may think:
Ooh, that's lovely.
Small bumps can feel soft.
The wheel moves easily.
The motorcycle may feel plush and comfortable.
Then ask a little more of it.
Brake firmly and the front will dive rapidly.
Hit a larger compression and the suspension may disappear through far too much of its travel.
Ride into a dip and the bike can wallow.
Land heavily and it may easily blow through the stroke and bottom.
The motorcycle can start feeling vague because its attitude is changing too quickly and too easily underneath you. In extreme terms, imagine riding a motorcycle with springs but almost nothing controlling how quickly they compress or extend. You'll soon realise you are now riding a pogo stick. It's going up and down faster than a fiddler's elbow.
Boing. Squish. Dive.
Lovely over the first tiny ripple.
Less lovely when the next thing you hit has edges.
Now Wind Compression the Other Way
Return to your starting point first.
Then try the opposite extreme. Wind the compression damping to fully closed. Again, don't screw the adjuster brutally into its seat. Ride the same section. Now the suspension resists compression much more strongly. The motorcycle may initially feel wonderfully controlled. It dives less under braking. Its chassis feels taut. Sharp. Sporty, perhaps.
And then you hit some bumps.
Instead of the wheel getting out of the way, the motorcycle starts transmitting more of the impact into you. Your teeth are going to rattle, it's so brutally harsh. The front may deflect from rocks rather than absorbing them. The tyre can lose contact more readily over rough ground because the suspension simply isn't moving quickly enough to follow the surface. The bike will feel harsh, nervous and tiring. Your fillings may also submit a formal complaint. So we've already discovered something important:
Soft isn't automatically comfortable.
And:
Firm isn't automatically controlled.
What we're looking for is enough compression damping to control the movement without preventing the suspension from doing its job.
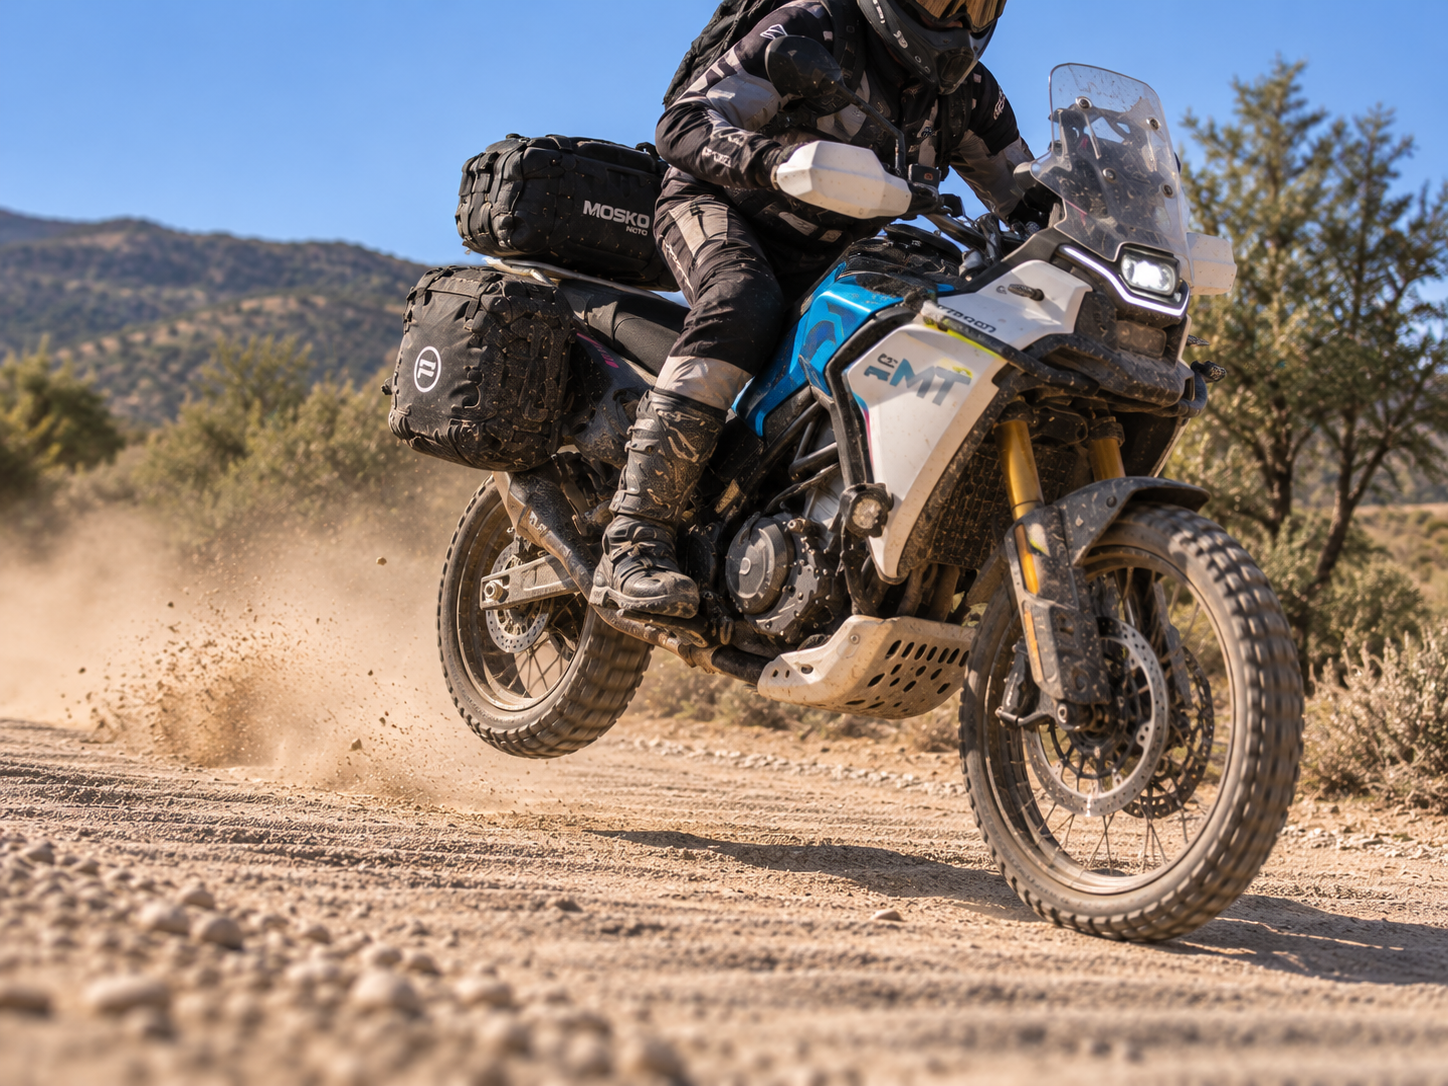
Now Let's Completely Ruin the Rebound
Rebound is where things become particularly interesting. Because the spring doesn't just compress. It wants to come back.
Quite enthusiastically!
If you've ever seen an actual fork spring, you'll know it's quite long and stiff. If you had a way to fully compress it with your hands and then let go, I imagine it would be picked up as a missile by air-defence radar!

Rebound damping controls how quickly we allow it to do that.
So let's make this wrong too.
Rebound Almost Fully Off
Wind the rebound adjuster towards the open/fast end.
Ride the same section.
Hit a bump.
The suspension compresses.
Then the spring fires back towards full extension with relatively little damping controlling it.
The bike can feel:
Bouncy.
Loose.
Springy.
Busy.
The rear may kick upward after bumps.
The front can feel as though it's bouncing back at you.
Across a sequence of undulations the motorcycle may start moving up and down underneath you rather than settling after each impact.
It is even possible for its kinetic energy to launch you into the air.
This is the stereotypical pogo-stick feeling.
Boing. Boing. Boing.
The suspension has absorbed the bump.
It just hasn't been persuaded to calm down afterwards.
Now Add Far Too Much Rebound
Turn rebound towards the slow/closed end.
The first bump might actually feel pretty good.
The suspension compresses.
Then it extends slowly and calmly.
Wonderful.
Controlled.
Sophisticated.
Then comes the second bump.
And this is where we need to talk about packing.
Packing — When the Suspension Doesn't Get Home in Time
Imagine your suspension has 200 mm of travel.
You hit a bump and use 80 mm.
The suspension now needs to extend again before the next bump arrives.
But imagine the rebound damping is so slow that it only manages to recover 40 mm before you hit bump number two.
So when bump number two arrives, you're already sitting 40 mm deeper into the stroke than you were before bump number one.
The suspension compresses again.
It doesn't recover fully.
Then comes the third.
And the fourth.
Each time, the suspension can begin the next impact from further down in its travel.
Keep repeating that through a line of bumps and the suspension can progressively lose more and more of the travel it needs for the next impact.
It is effectively being packed down.
Hence:
Packing.
And here's the deeply unintuitive bit.
You've added lots of rebound damping because you wanted the suspension to feel controlled.
But after several bumps, the motorcycle can start feeling harder and harsher.
Why?
Because you've gradually robbed yourself of available suspension travel.
The suspension hasn't had enough time to extend between impacts, so you're now riding around on a smaller and smaller portion of the stroke.
Eventually you're smashing through what little travel remains.
The bike may ride lower.
Significantly lower.
It's deeply comical to watch and deeply scary if you are that rider.
The rear can squat.
The front can feel harsh over repeated corrugations.
The motorcycle may become reluctant to change direction.
Traction can deteriorate because the wheel isn't returning quickly enough to follow the ground.
And because each individual bump might feel reasonably controlled, riders sometimes respond by adding even more damping.
Which makes the packing worse.
That way madness lies.
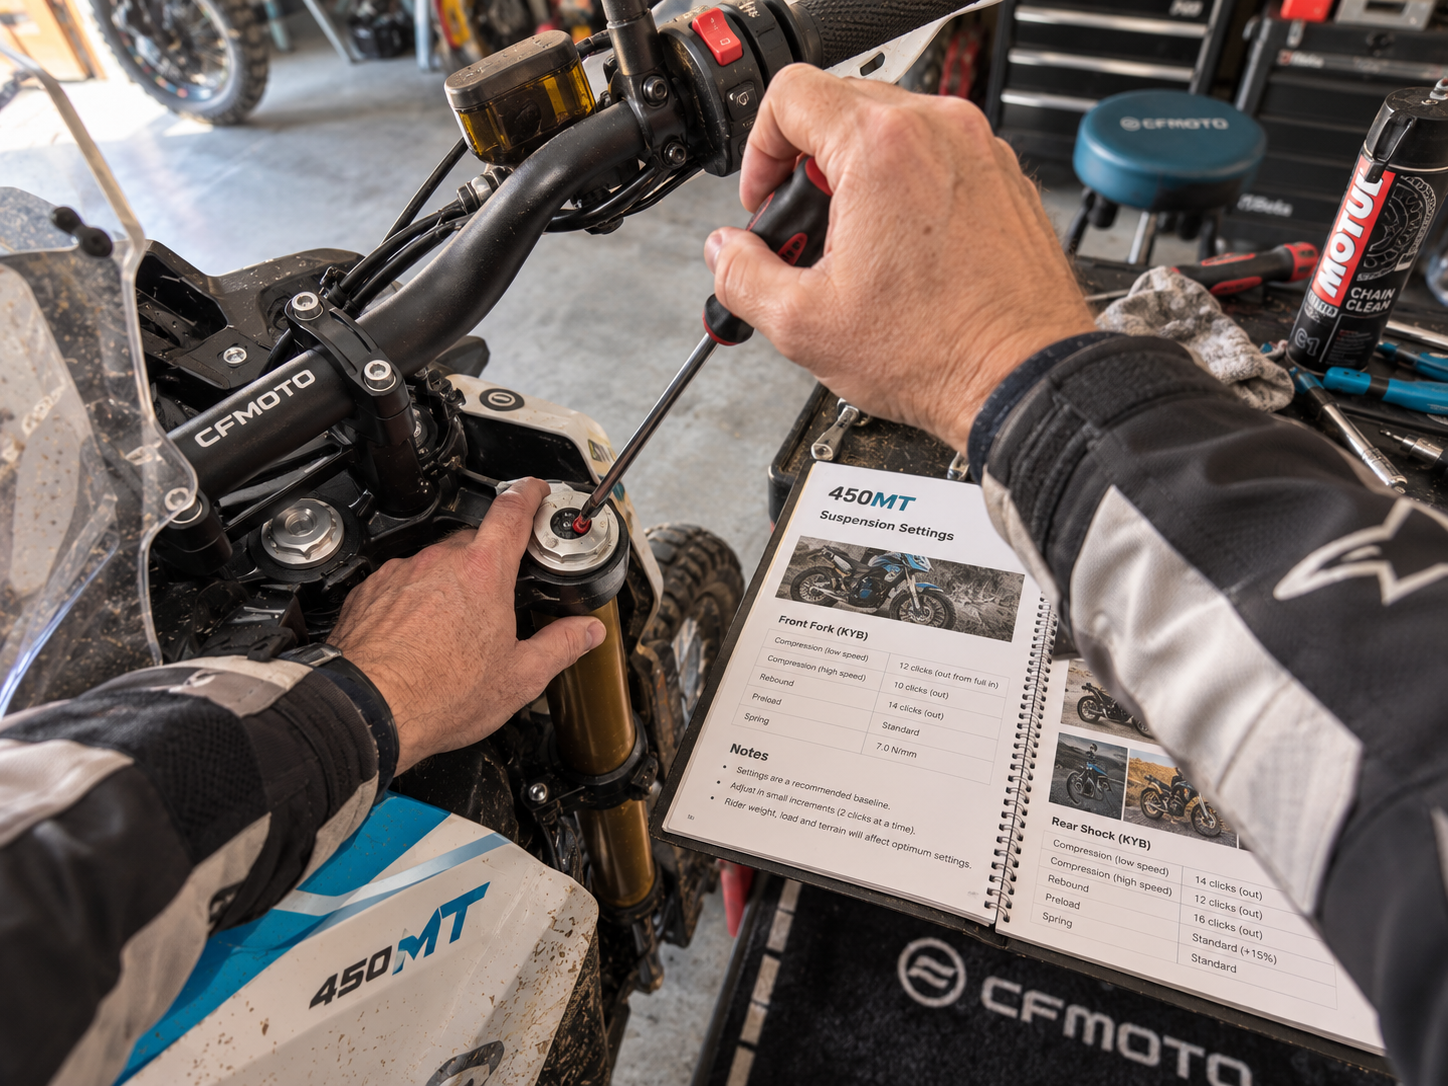
So What Are We Actually Adjusting?
Let's strip away the mystery.
Your suspension spring stores energy.
It's called potential energy if you remember your physics lessons.
Compress it and it wants to extend again. When it moves, it converts potential energy to kinetic energy.
Left completely uncontrolled, we'd essentially have a pogo stick.
Damping controls the speed of that movement by forcing suspension oil through restricted passages.
Your clickers alter that restriction.
Put simply, they're controlling how much fluid can travel through adjustable passages.
More damping means the suspension movement is resisted more strongly.
Less damping means it can move more freely.
The internal reality can involve bleed circuits, needles, shim stacks and considerably more cleverness, but you don't need any of that to understand what your external adjuster is doing.
That's basically it.
You do not need a PhD in fluid dynamics to turn a screwdriver three clicks.
However, now this cruel exercise is over, please remember to turn all your clickers back to the normal settings you wrote in your notebook.
Compression: What Are We Looking For?
Compression damping is primarily about controlling the suspension as it moves into its travel.
Too little and you may experience:
Excessive brake dive.
Excessive squat or chassis movement.
Blowing through the travel on bigger hits.
Bottoming.
A vague or wallowy feeling.
Too much and you may experience:
Harshness over bumps.
Deflection from rocks and roots.
Reduced grip on rough surfaces.
A motorcycle that feels nervous rather than compliant.
Impacts being transmitted through the bars, pegs and seat instead of absorbed.
The target is not:
As firm as possible without bottoming.
Suspension travel exists to be used.
If you've paid for 200 mm of it, congratulations.
You are allowed to use all of it.
Rebound: What Are We Looking For?
Rebound controls the suspension as it comes back out of its travel.
Too little rebound damping — too fast — and you may get:
Pogoing.
Kicking after bumps.
A bike that continues moving after the obstacle has gone.
A loose or unsettled feeling.
Too much rebound damping — too slow — and you may get:
Packing over repeated bumps.
A harsh feeling that gets worse through a rough section.
Loss of available travel.
Poor wheel recovery and reduced traction.
A motorcycle that gradually rides lower through successive impacts.
The suspension needs to recover quickly enough to be ready for the next bump.
But not so quickly that it throws the motorcycle back at you.
That's the game.
Front and Rear Need to Talk to Each Other
Here's another place people disappear down rabbit holes.
You can make the front suspension feel wonderful in isolation.
You can make the rear suspension feel wonderful in isolation.
And still create a motorcycle that feels horrible.
Because they're attached to each other.
If the rear rebounds dramatically faster than the front, the motorcycle's pitch can change after bumps.
If one end is heavily damped while the other is bouncing around like an excited Labrador, the chassis will feel confused.
What we're really trying to achieve is a motorcycle where both ends recover in a broadly coordinated way.
Not necessarily identically.
Just sensibly.
When you ride over a bump, the bike should absorb it, recover and settle.
Not perform a Mexican wave.
High-Speed and Low-Speed Compression
Some suspension gives you another opportunity to become amazingly confused.
You may have separate:
High-speed compression.
And:
Low-speed compression.
This does not mean motorway versus trail speed.
It refers to the speed at which the suspension itself is moving.
A slow chassis movement — braking, acceleration, rolling through a smooth dip — is generally a low-speed suspension event.
Hit a sharp-edged rock and the suspension shaft has to move very quickly.
That's a high-speed event.
You can be travelling slowly and create a high-speed suspension movement.
You can be travelling quickly and create a low-speed suspension movement.
Yes, the terminology could have been designed specifically to annoy people.
If your motorcycle only gives you one compression adjuster, excellent.
One less thing to worry about.
If you have separate high- and low-speed adjustment, start with the manufacturer's settings and understand the basic compression/rebound relationship before becoming ambitious.
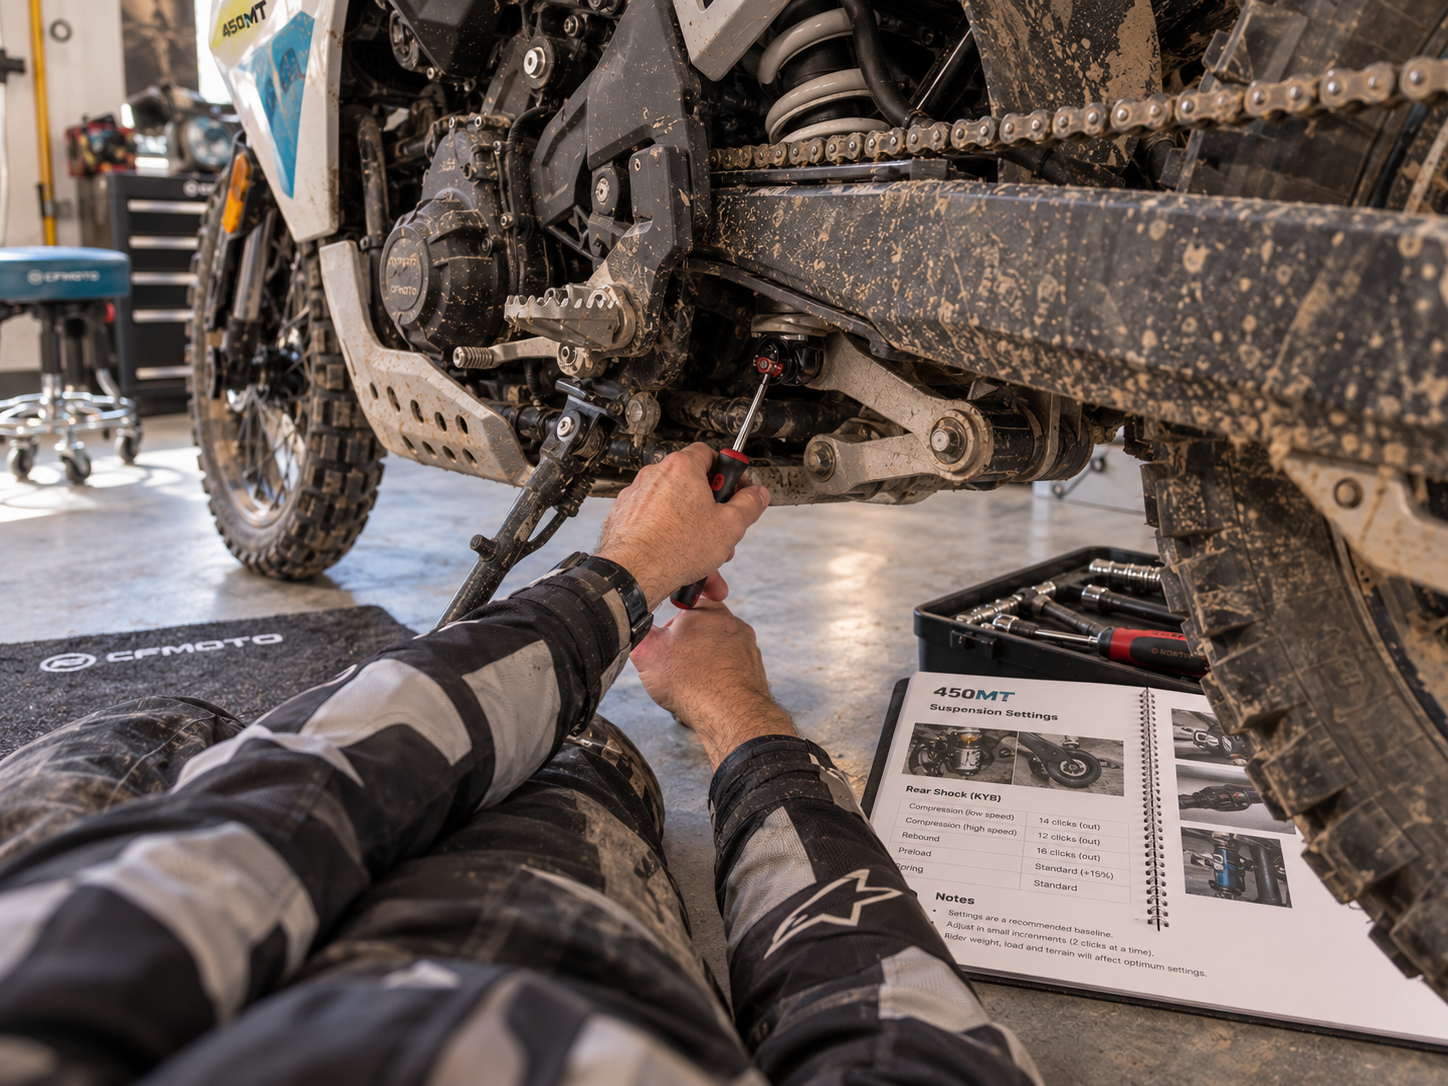
Stop Turning Everything at Once
This should sound familiar by now.
Part 2:
Change one ergonomic thing.
Ride it.
Part 3:
Change the gearing.
Ride it.
Part 4:
Change one clicker.
Ride it.
If you simultaneously add four clicks of compression at both ends, remove six clicks of rebound and change the tyre pressures, then announce that the motorcycle feels better, you've learned precisely nothing.
We want cause and effect.
So change one thing.
And initially, don't be frightened of making a reasonably large change.
One click may be too subtle for you to identify.
Try four.
Or six.
Ride.
Can you feel it?
Good.
Now you know what that adjuster does.
Move back towards where you started.
We're learning the direction before chasing the perfect number.
Use the Same Test Section
This matters enormously.
If you make a suspension adjustment and then ride completely different terrain, you've changed two variables.
Find a short section you can repeat.
Ideally it has:
A few small repeated bumps.
A larger compression.
Some braking.
Perhaps a corner with rough ground.
Ride it.
Change one thing.
Ride it again.
And don't try to remember twelve impressions simultaneously.
Ask one question.
What am I trying to fix?
Front diving too quickly?
Rear kicking?
Harsh across repeated bumps?
Packing?
Running too deep in the stroke?
Pick the problem.
Then adjust the thing that might actually affect it.
Write Everything Down
Seriously.
You will not remember.
You think you will.
You won't.
Before touching anything, record the manufacturer's baseline.
For example:
Fork compression: 12 clicks out.
Fork rebound: 14 clicks out.
Shock compression: 10 clicks out.
Shock rebound: 13 clicks out.
Those numbers are entirely illustrative, by the way. Do not run into the garage and put them into your motorcycle.
Then record what you changed.
Fork compression: +4 damping.
Ride.
Write:
Less dive. Harsh on rocks.
Now you've learned something.
Go back two clicks.
Ride again.
This isn't glamorous.
But neither was measuring sag with a piece of string.
And look how that turned out.
The Factory Setting Isn't Stupid
There's a temptation to assume the factory suspension setting is some hopeless compromise created by an accountant.
Usually, it isn't.
The manufacturer has spent considerably more time testing the motorcycle than you have.
The standard settings are therefore a very sensible baseline.
Not sacred.
Not necessarily perfect for you.
But a known place to start.
And more importantly, a known place to return to when you've spent Saturday afternoon turning every adjuster you can find and somehow transformed a perfectly good adventure bike into a shopping trolley.
Write the factory settings down.
Please.
Temperature Matters Too
Suspension oil changes behaviour with temperature.
A shock that's stone cold when you leave home may not behave exactly the same after you've spent an hour battering it along a trail.
This doesn't mean you need to carry a laboratory thermometer and establish the precise viscosity of your fork oil at every coffee stop.
It means:
Do your meaningful testing with the suspension at a representative operating temperature.
And be aware that a setting which felt slightly different during the first five minutes may settle once everything is working.
Your Luggage Is Coming Back to Haunt You
Remember Part 1?
Sag?
Remember how adding weight changes where the motorcycle sits?
Well, congratulations.
Your luggage hasn't stopped existing just because we've moved on to damping.
Load the bike with camping gear, tools, water and luggage and the suspension now has more mass to control.
That's why a setting that works beautifully with an empty motorcycle may not feel identical when you're carrying everything required to disappear into the mountains for three days.
First, get the spring preload and sag appropriate for the load.
Then evaluate damping.
Don't use clickers to disguise a spring problem.
If the motorcycle is sitting halfway through its travel before you've even hit a bump, winding in compression damping is not going to magically give you the suspension travel back.
This is why we did Part 1 first.
See?
There was a plan after all.
Don't Use Damping to Fix the Wrong Spring
This deserves its own section.
If the spring rate is fundamentally wrong for your weight and load, damping adjustment can only do so much.
A spring that's far too soft will still be too soft.
A spring that's far too stiff will still be too stiff.
You can wind clickers around trying to compensate, but eventually you're asking the damper to solve a problem created by the spring.
Remember the division of labour:
Spring rate and preload establish how the motorcycle supports its load and where it sits.
Damping controls how quickly the suspension moves.
Different jobs.
That's why measuring sag before playing with damping isn't merely neat organisation.
It's essential.
Don't Be Afraid of Bottoming Occasionally
This one may sound odd.
Surely bottoming the suspension means something is wrong?
Not necessarily.
If you've hit the biggest compression you're likely to encounter all day and used essentially all the suspension travel, that's not automatically a failure.
You bought the travel.
Use it.
What we don't want is the suspension crashing violently into the end of its stroke repeatedly during ordinary riding.
If you're never remotely approaching full travel even on your biggest hits, you may actually be running the suspension unnecessarily firm.
Cable ties around fork legs are useful here.
Put one loosely around the fork stanchion.
Ride.
See how much travel you've actually used.
Cheap data.
My favourite kind.
My Settings Aren't Your Settings
We've been here before too.
I could publish my clicker settings.
People love that.
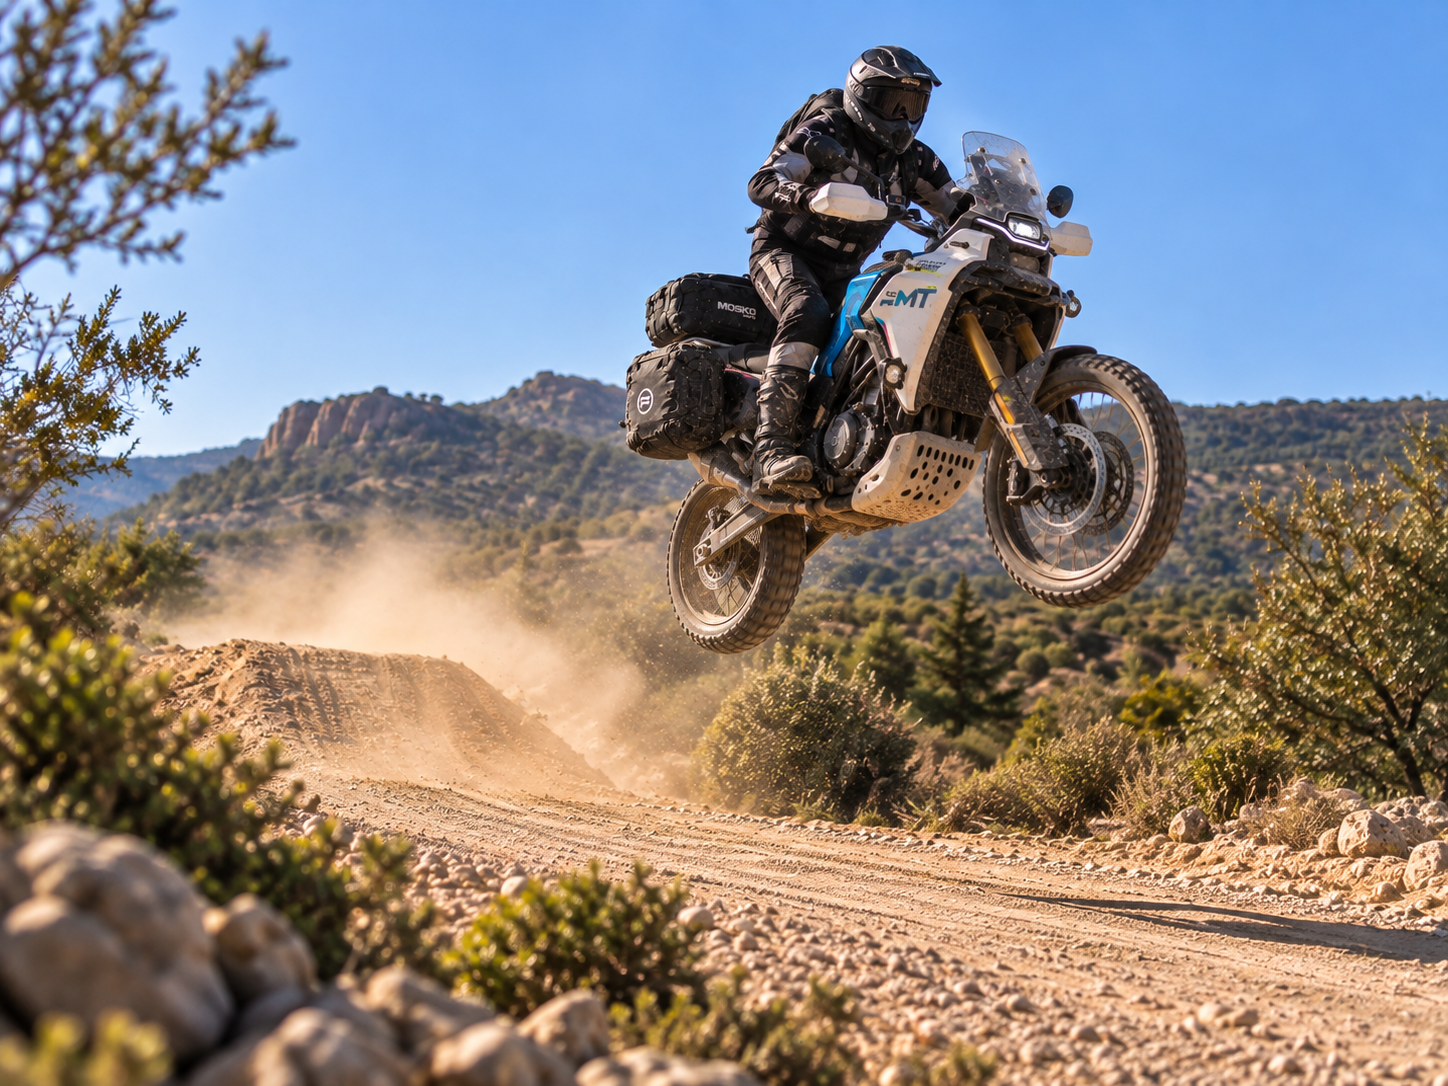
Kevin's Ultimate 450MT Suspension Settings!!!
And somebody of a completely different weight, carrying different luggage, riding different tyres on different terrain at a different pace could copy them.
Then wonder why the motorcycle feels awful.
My settings may be useful as a reference.
They are not an answer.
The answer is the process.
Start from a known baseline.
Make a single deliberate change.
Ride the same terrain.
Understand what changed.
Work towards what you prefer.
And write it down.
Tell the Suspension How to Behave
So that's Stage 4.
Stage 1: Put the motorcycle where it should be.
Sag.
Stage 2: Put the rider where they should be.
Ergonomics.
Stage 3: Put the engine where you need it.
Gearing.
Stage 4: Tell the suspension how to behave.
Damping.
And there's one word I particularly want you to remember from this article:
Packing.
Because it demonstrates why suspension setup isn't simply a scale from:
Soft = comfortable
to
Hard = sporty.
Too much rebound damping can produce a motorcycle that initially feels controlled but becomes increasingly harsh through repeated bumps because the suspension never gets the chance to recover.
I've actually seen somebody discover at the first set of washboards that a helpful friend had wound his rebound all the way in while he'd stopped for coffee.
Completely evil. Absolutely not condoned.
It did, however, provide an unusually vivid demonstration of packing.
And mining.
That's exactly why we're learning what the motorcycle is doing rather than blindly turning screws.
We've now got the bike sitting properly.
We've fitted it to the rider.
We've geared it for the job.
And we've persuaded the suspension to compress and rebound without behaving like either a pogo stick or a park bench.
Surely we're finished.
Oh no.
Because we're adventure riders.
So now we're going to take this carefully set-up motorcycle and attach luggage, tools, tubes, compressors, power banks, camping equipment, three different knives, seventeen cable ties, a socket set capable of rebuilding a tractor and enough emergency equipment to survive the collapse of civilisation.
Welcome to Part 5.
What actually deserves a place on your motorcycle?
And no.
You're not checking the valve clearances on a muddy inclin
